Sales pipeline
The Pipeline is a visual tool that helps track a customer's journey — from the initial contact to a successful deal. The Pipeline in the Umnico Inbox omnichannel messaging platform supports built-in filters and mass action features.

How Pipeline Stages Help You Close Deals
When you create an account, a default sales pipeline with basic stages is generated automatically. You can fully customize it to match your business workflow.
As deals move through the stages, Umnico collects statistics that you can view in the «Analytics» section. For example, you’ll see conversion rates at each stage — how many clients move forward, and how many drop off. This helps evaluate the performance of each stage and understand how your sales team is doing overall.
Tip: When getting started, it’s best to focus on the key stages. You can always add more later or continue using the default pipeline.
Setting Up the Sales Pipeline in Umnico
Easy and flexible customization allows you to adapt Pipeline to the specifics of your business processes. You can easily add new stages and change their names and order. You can also manage the display of the statuses you need.
Editing
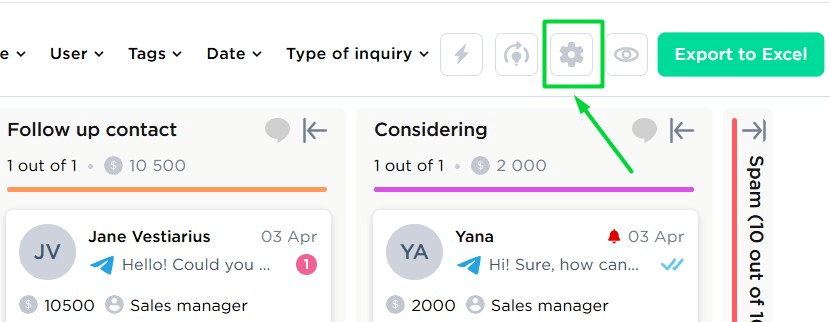
To edit your pipeline, click the gear icon in the top right corner of the interface.
Adding a New Stage
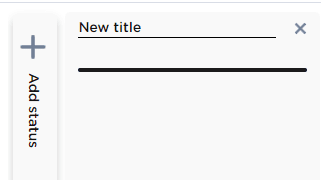
In the left panel, select «Add Status». Enter a name and choose the group the stage belongs to. «My chats» — active stages. «Successful», «Unsuccessful», or «Not a lead» — archived stages.
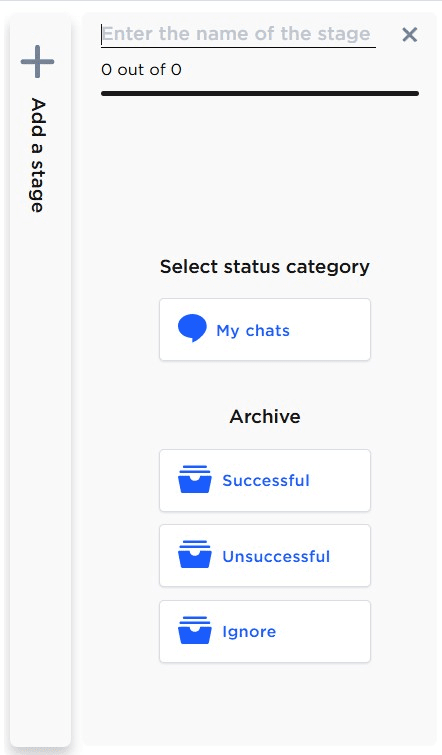
Once the group is selected, the new stage will be added to your pipeline.
Reordering and Editing Stages
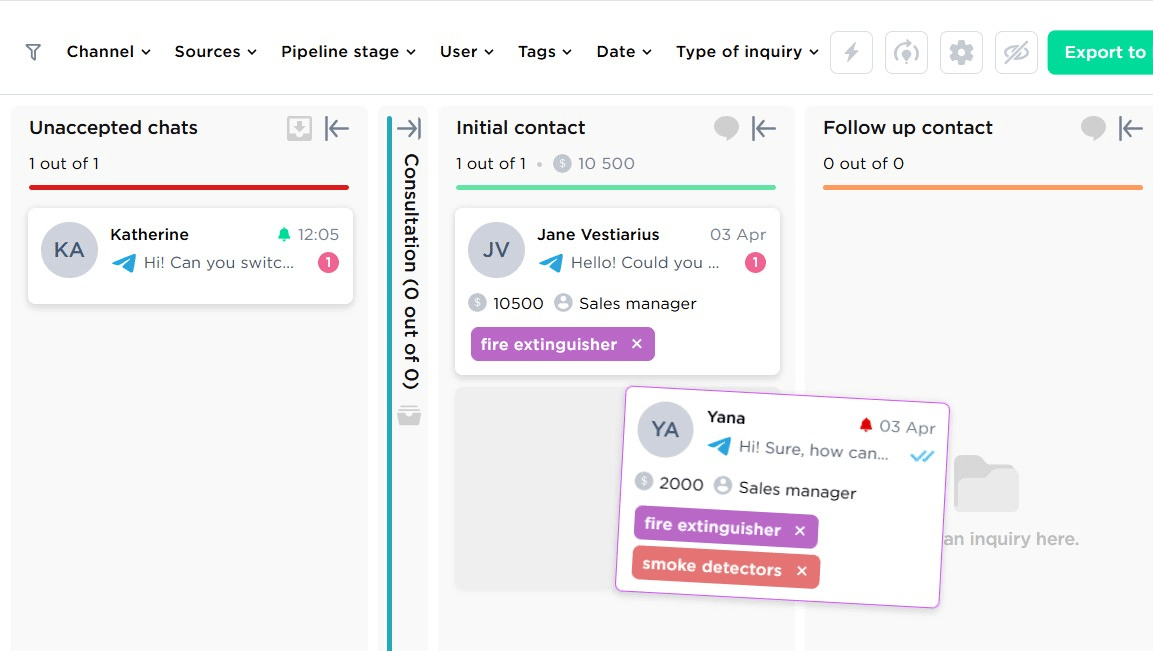
You can rearrange the stages by simply dragging them.
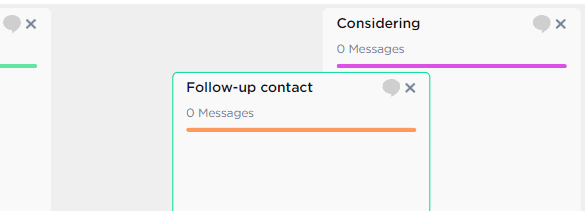
To rename a stage, click on its name, enter the new name, and click anywhere outside the field to save it.
Controlling What You See
Use the collapse column feature to focus only on relevant stages.

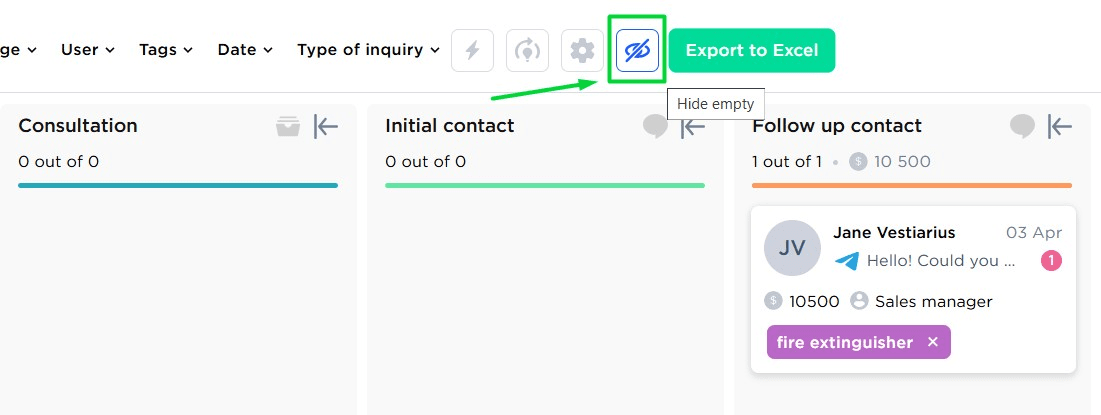
The eye icon allows you to hide or show empty stages — those without any active deals.
You can also move conversations between stages by dragging them directly in the pipeline view.
Bulk Actions
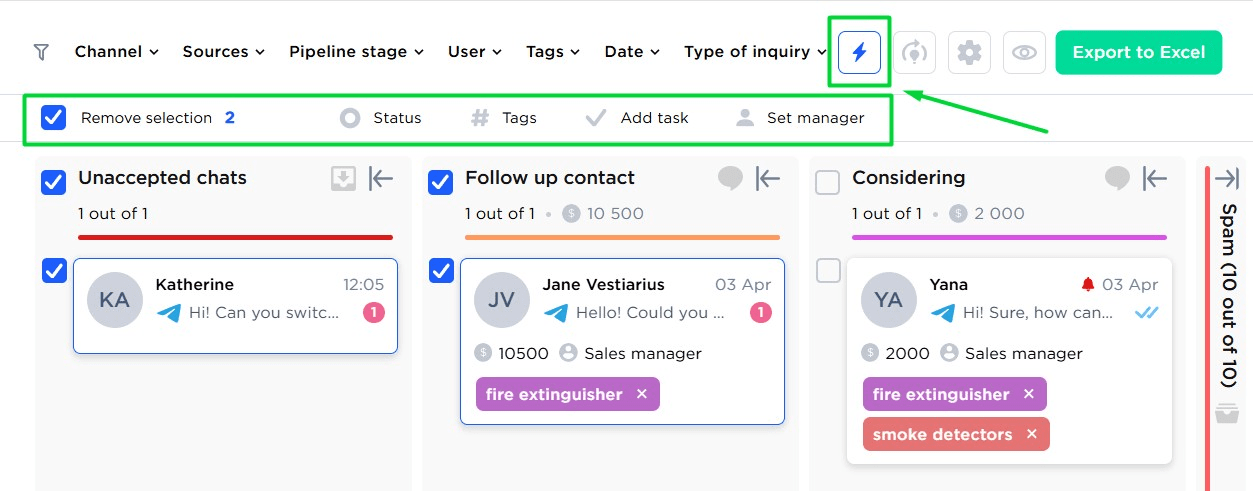
To save time on routine tasks, use the «Bulk Actions» feature. Click the lightning icon at the top of the interface to select one, multiple, or all deals at once. Then, you can update the «Status», add «Tags» and «Tasks», or assign a new responsible «User».
Adding Triggers to the Pipeline
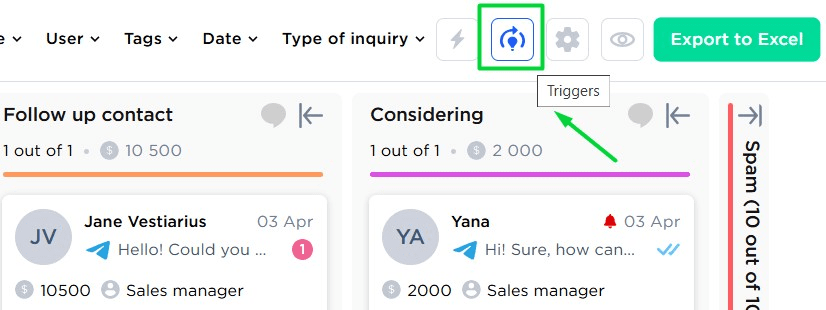
Triggers in Umnico are automated actions based on specific events that occur during client interaction. Each trigger performs a predefined task when a certain condition is met.
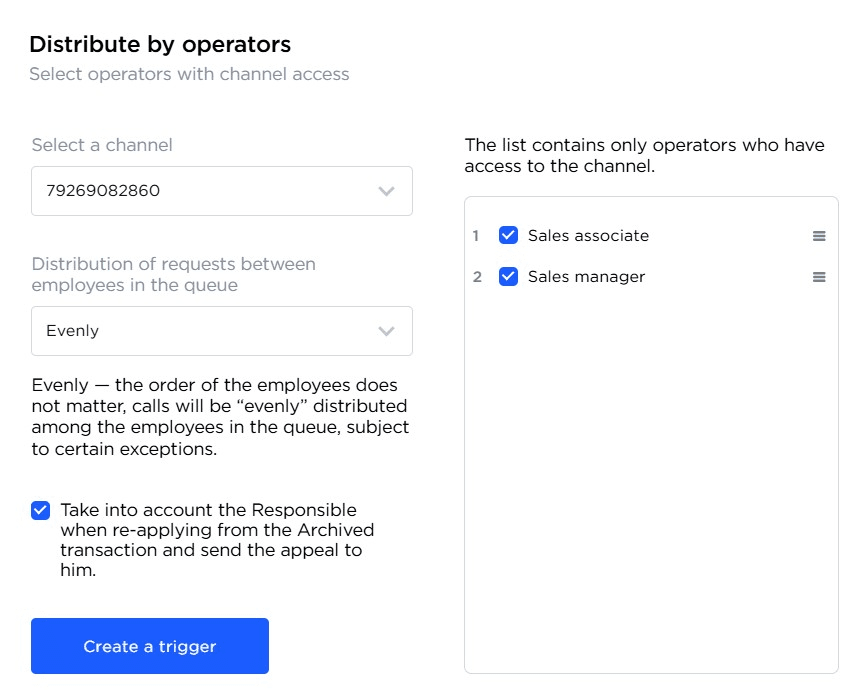
Trigger: Distribution of Deals
This trigger automatically distributes new conversations among users based on your rules. For example, conversations can be assigned to different users depending on the pipeline stage or other conditions. This helps balance the workload across your team.
Trigger: Sending a Message
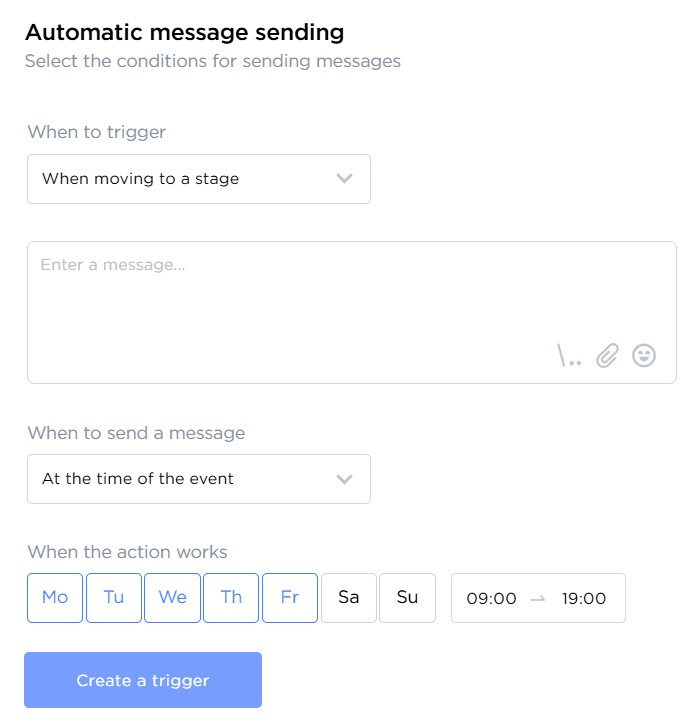
This trigger sends an automatic message to the client when a specific action occurs, such as when a deal moves to a new stage or a new assignee is set. It keeps communication going without manual effort.
You can also choose when the message should be sent: immediately, after 5 or 10 minutes, or on your own custom schedule.
Trigger: Adding Task
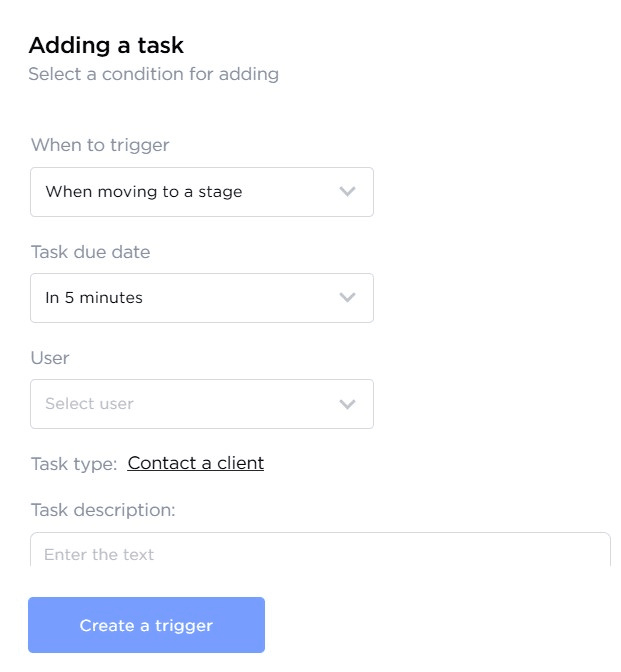
This trigger creates a task for the user when a specific event happens. Tasks can be different, such as «Call the client», «Schedule a meeting», or a custom task type. You decide when the task should appear: immediately, in 5 or 10 minutes, or based on your own timing.
Trigger: Assignee Change
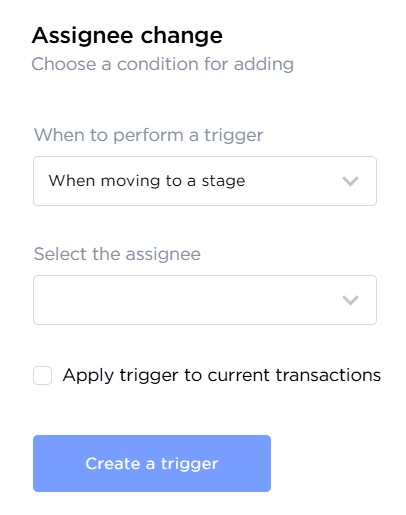
This trigger automatically updates the responsible user when a certain event occurs — like moving a deal to a new stage or receiving an inquiry. It's useful for managing ownership without manual admin work.
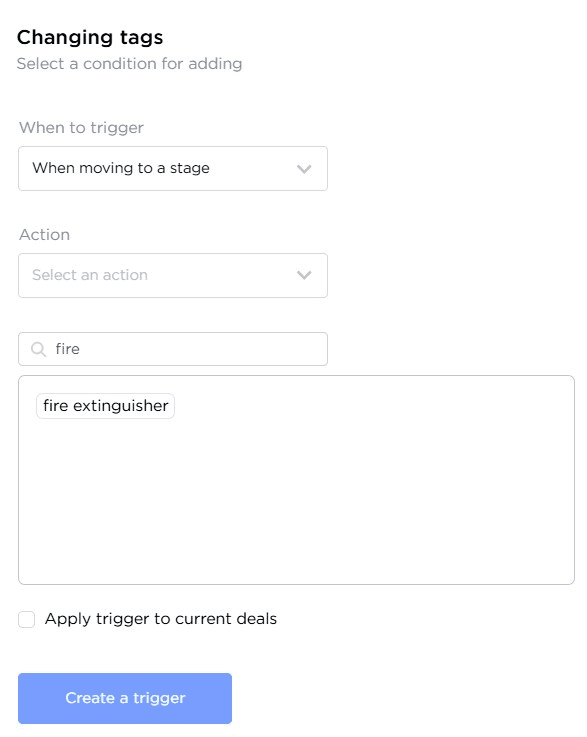
Trigger: Changing Tags
This trigger adds or removes tags automatically based on specific conditions. Tags help organize and classify deals, making it easier to stay on top of your sales process.
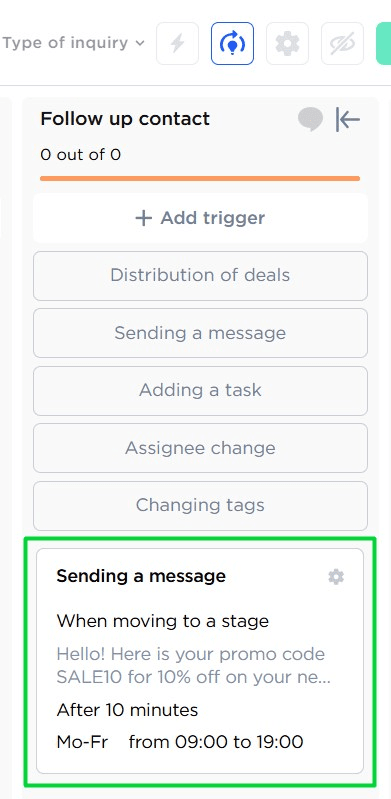
Trigger Card
Once a trigger is set up, it appears as a card displaying all its settings. You can open and edit it at any time.
Help & Support
If you have any questions, feel free to contact us — we're happy to assist.
To reach Umnico support, click the «Chat with support» bubble in the bottom-right corner of your screen. Or go to the «Help → Chat with support» section in your Personal account.
Related Guides & Articles
We recommend exploring
Company Analytics
Tags
How to set up notifications in Umnico

 3-days free trial period