Odnoklassniki connection to Bitrix24
Odnoklassniki is a popular Russian social media platform that can be useful for companies that aim at establishing a stronger connection with customers of various age groups. Umnico allows you to integrate Odnoklassniki with Bitrix24 CRM system. The integration provides a convenient ability to process incoming messages and comments on posts, assign them to your team members, and send replies directly from Bitrix24.
How to set up Odnoklassniki and Bitrix24 integration
Please note: before setting up the integration, ensure that you have all necessary Odnoklassniki accounts connected in Umnico.
1. In the Bitrix24 interface, select “Applications — Market” in the left menu.

2. In the search bar, enter “Umnico”.
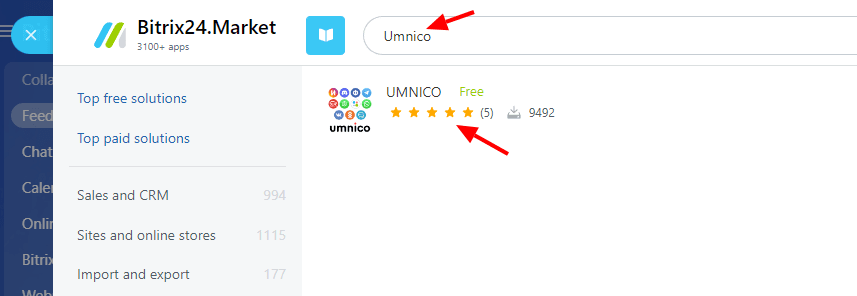
3. Click “Install” in the application description.

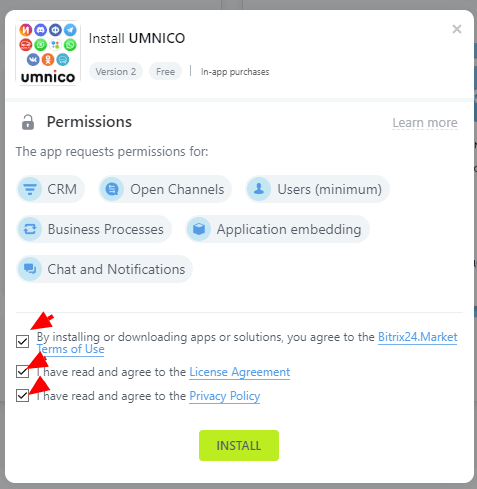
4. In a pop-up window, check the boxes that agree to the Bitrix24.Market Terms of Use, “License Agreement” and “Privacy Policy” and click “Install”.
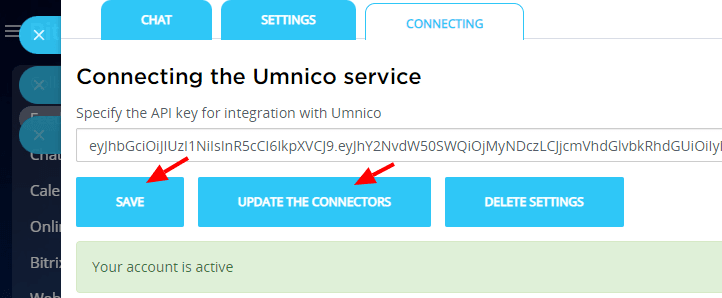
5. In the window that opens (Fig. 1), enter the Umnico API token. To do this, go to the Umnico interface, select “Settings — API” and click “Copy token” (Fig. 2). Paste it into the appropriate box in Bitrix24 and click “Save” (Fig. 3).
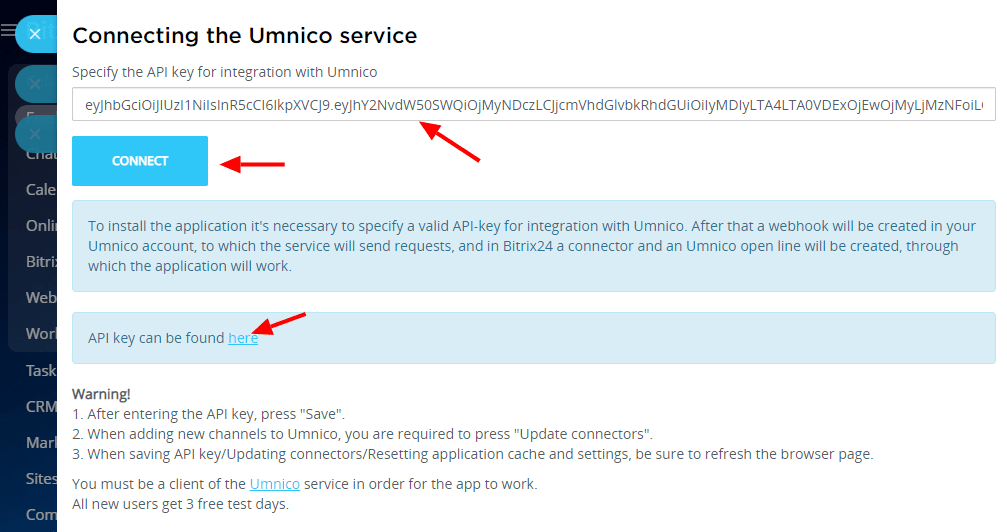
Figure 1
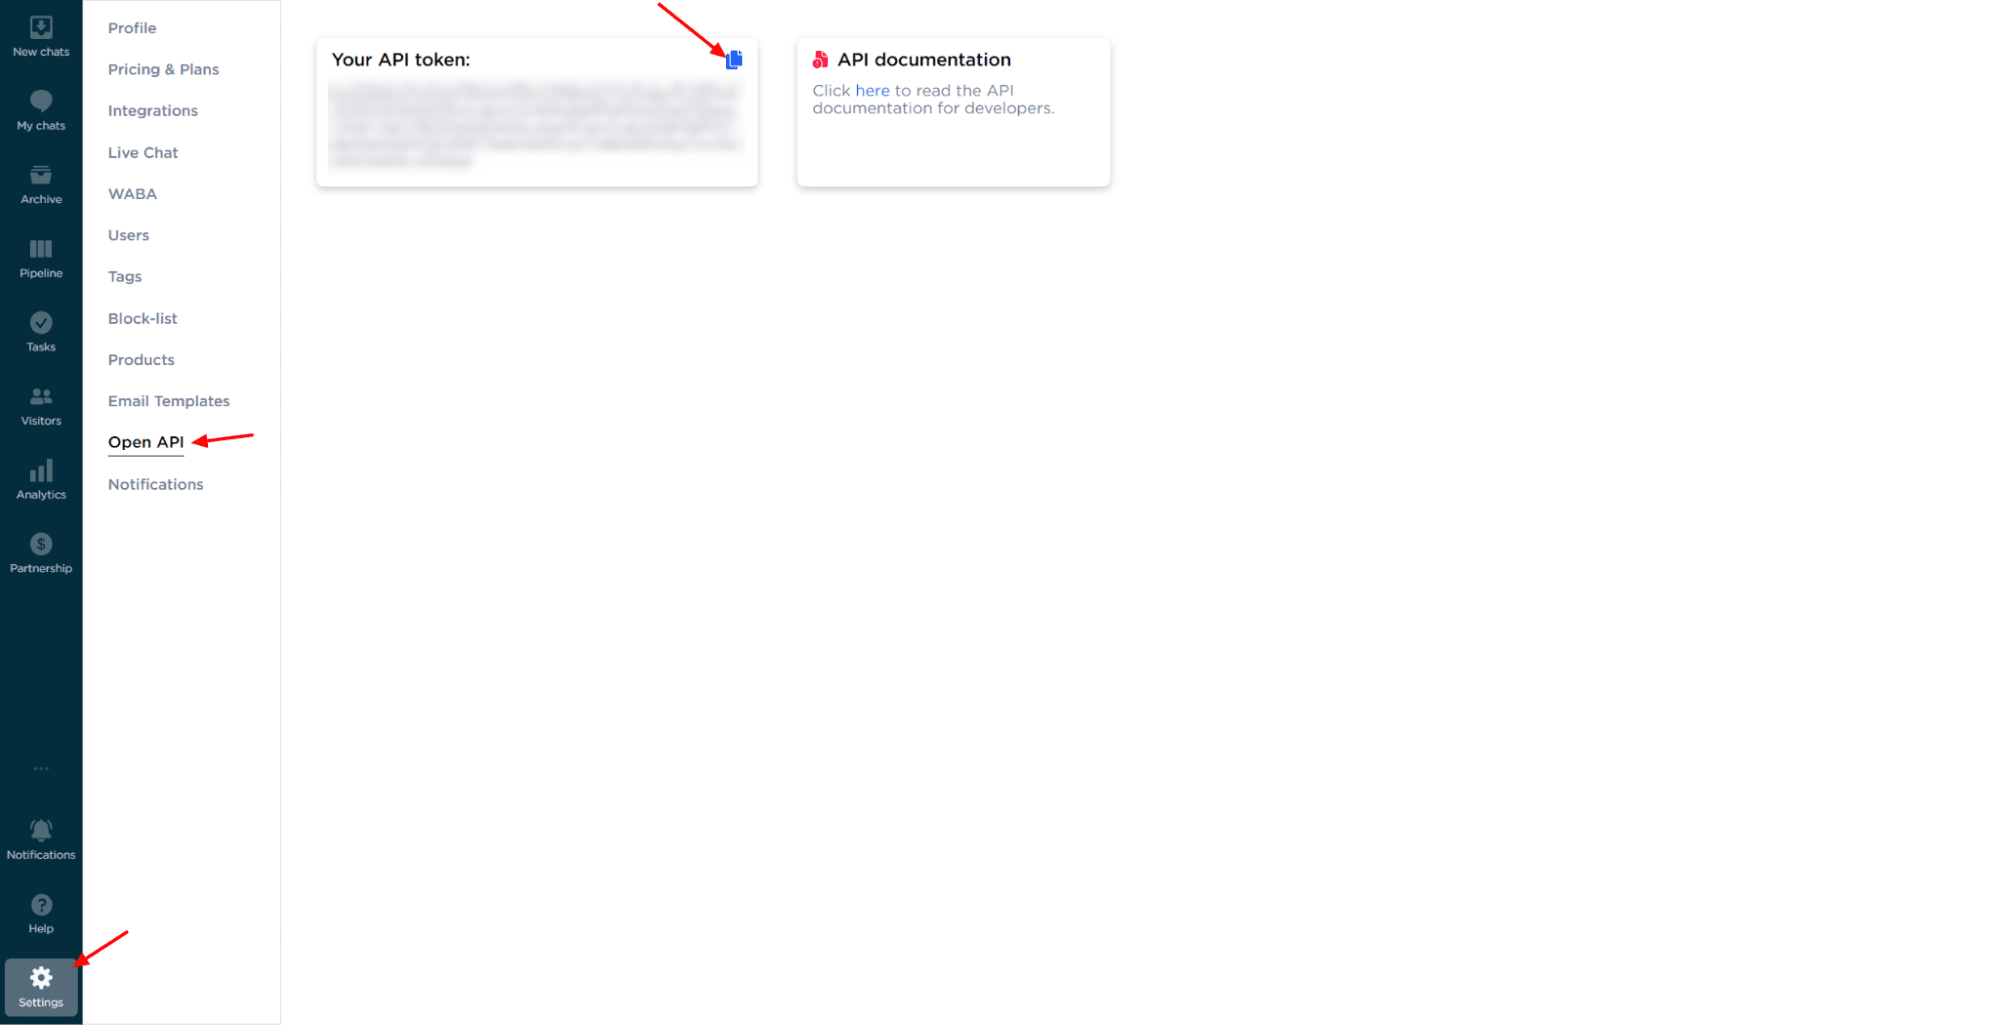
Figure 2
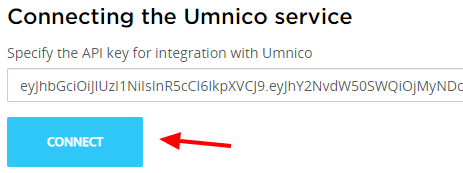
Figure 3
6. After saving the API token, click the “Update connectors” button.
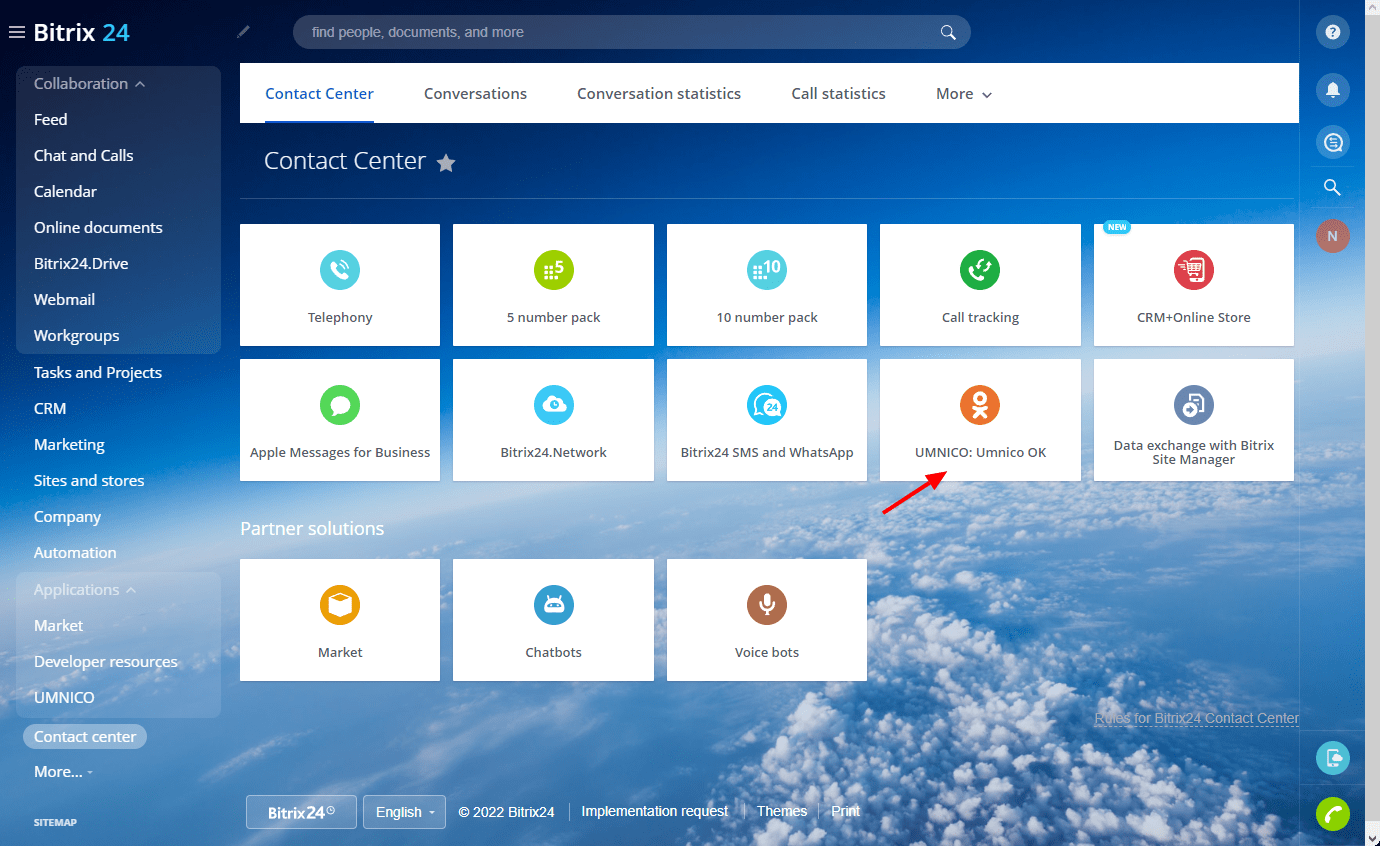
7. In the Bitrix24 left menu, select “Contact Center”. If the section is not displayed in the menu, enter “Contact Center” in the search bar.

8. The "Contact Center" displays all connected Umnico integrations as connectors. To connect, select the connector you want. In our instance, integration with Odnoklassniki.
9. In a pop-up menu, click “Connect” (Fig. 1). Select the required “Open line” and “Responsible employees” (Fig. 2). Click “Save”. After clicking, the notification “Channel configured successfully” should appear. After that, the connected connector will be highlighted in light green (Fig. 3).
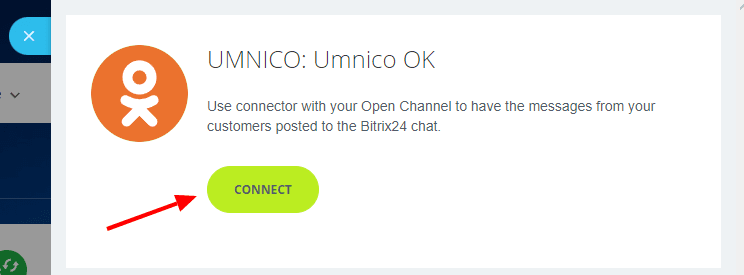
Figure 1
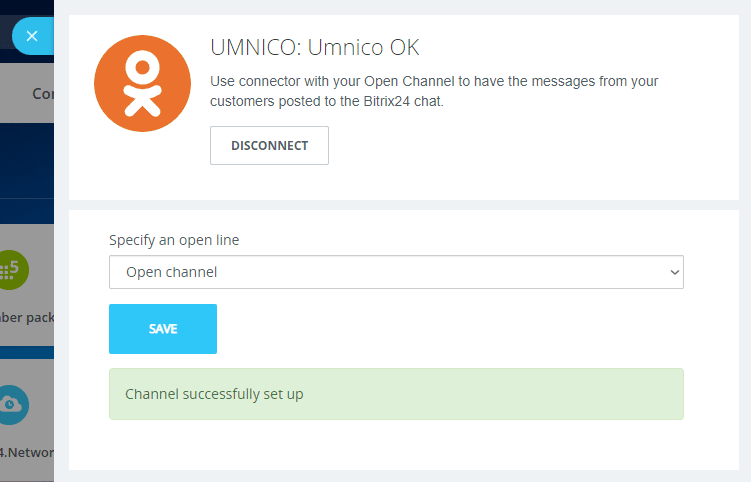
Figure 2
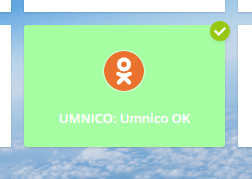
Figure 3
10. The setup process is complete. From now on, all messages will be sent to “Open Lines” in Bitrix24. The other connectors are connected in the same way.
Please note: if you have added new integrations to Umnico platform, you should use the “Update connectors” feature in Umnico application settings. Without this, new connectors in the “Contact Center” will not be displayed.
If you have any questions, contact us via “Help — Chat with the operator” section. We’ll be glad to help.
Also, learn about the benefits of social media management software for companies in our guide.
 Return to list of articles
 3-days free trial period