Facebook Messenger connection to amoCRM
Today, any business can hardly ignore Facebook, the world's largest social media site, if it aims to reach and engage its customers online. Umnico can assist you with integrating Facebook Messenger with your amoCRM system. This allows you to process incoming client communications, allocate them to team members, and send responses straight from amoCRM.
How to set up Facebook Messenger and amoCRM integration
To set up the integration, log in to Facebook with Owner or Administrator rights for the chosen Facebook page.
1. Go to “Settings — Integrations — Facebook Messenger”.
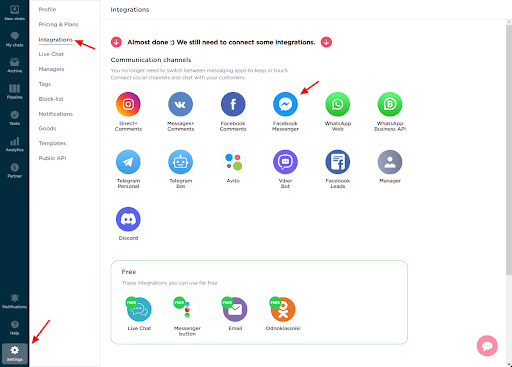
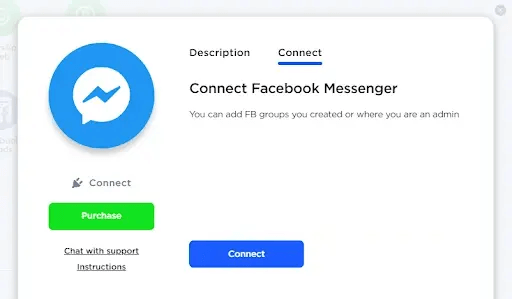
2. In the window that opens, click “Connect”. A tab with Facebook will appear.
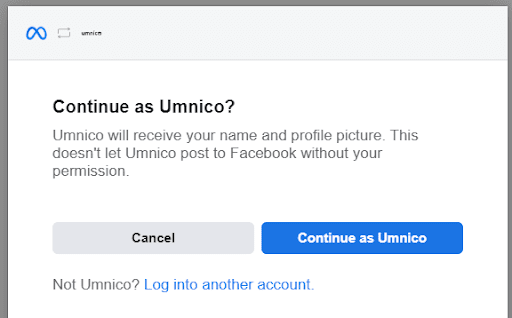
3. Next, in the query window, click “Change settings”.
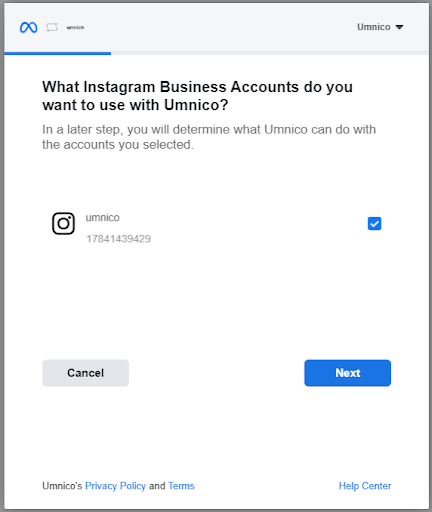
4. If you have an Instagram business account linked to this account, the app will request access to it as well. Select the relevant account and click “Next”.
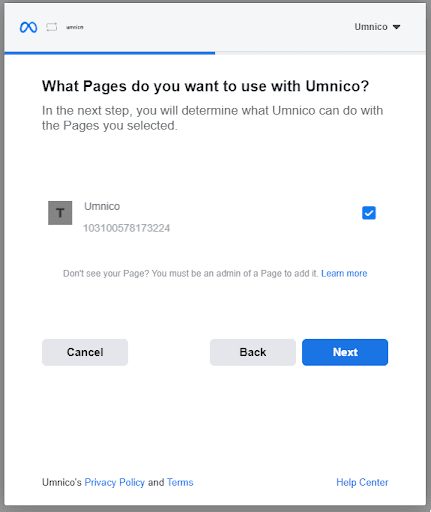
5. Select Facebook pages to connect to Umnico. Click “Next”.
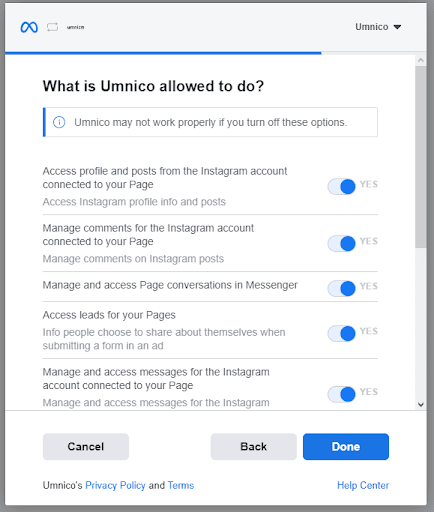
6. Provide access permissions to Umnico. It is important not to change anything because this directly affects the integration functioning. Click “Done”.
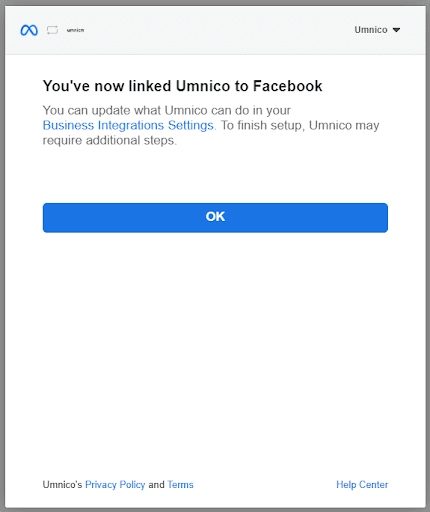
7. Facebook integration is complete. Click “OK”.
8. You are returned to Umnico. Select the Facebook group you want to connect to Umnico. Click “Connect”.
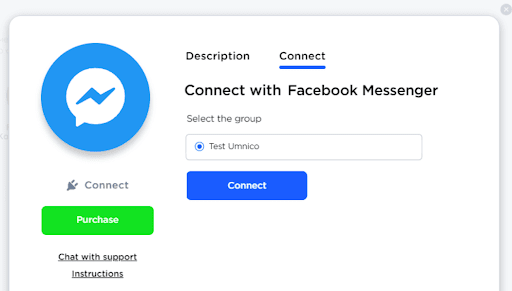
9. The integration with Facebook Messenger of the selected Facebook group will appear in the “Connected” section. From now on, all the group’s messages will be sent to Umnico.

You can also watch our video tutorial that explains how to enable integration with Facebook Messenger:
Now, set up amoCRM integration. To connect the Facebook Messenger integration with amoCRM, select “Settings — Integrations” in the left menu and click on amoCRM.

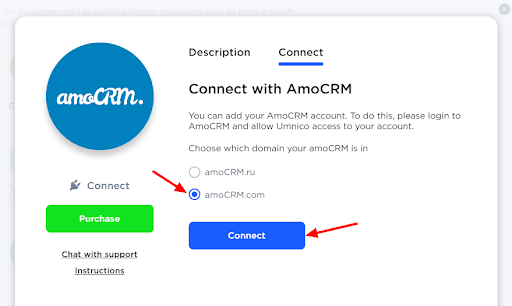
Click “Connect” in the window.
In a pop-up window, click “Connect”.
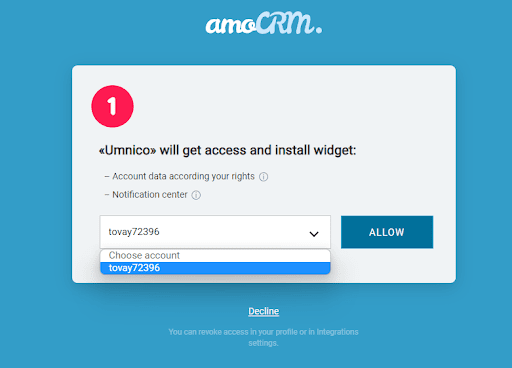
In the tab that opens, select amoCRM (you should be logged in amoCRM) and click “Allow”.
Next, you will be transferred to Umnico to the page with integration settings.
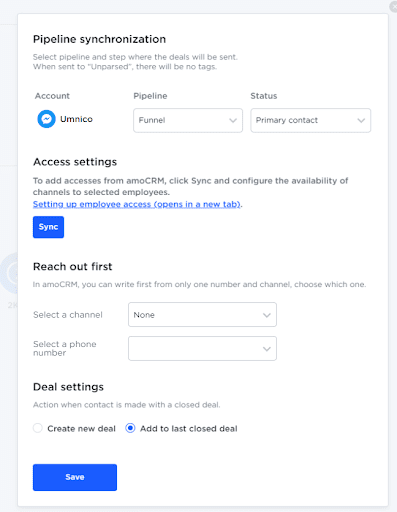
amoCRM integration settings in Umnico
Pipeline synchronization is an option to select a sales pipeline in amoCRM and the status assigned to deals. When a deal is sent to a specific pipeline with any status except for ”Unsorted”, tags will be added to the deal indicating the integration channel through which it came, type of message (message/comment), phone number, also, in case with WhatsApp, the ”Work phone” box will be filled.
If you want deals to be assigned ”Unassembled” status, select ”Send to Primary Pipeline ”Unassembled”. In this case, neither the tags nor the work phone number will be added to the deal.
Reach out first allows you to initiate a WhatsApp/Telegram Personal conversation from a deal, even if you haven't had any correspondence with this user before. The amoCRM interface only allows you to write first with a WhatsApp/Telegram Personal account.
Deal settings allows you to choose what to do when a client initiates a new inquiry with an archived/closed deal: create a new deal or send a message to the last closed deal.
After selecting the settings, click ”Save”. After that, you need to go to the amoCRM interface.


The integration is complete. If you have any questions, contact us via ”Help – Chat with the operator” section. We’ll be glad to help.
Also, check our guide to the meaning of Facebook Messenger icons and symbols .
 Return to list of articles
 3-days free trial period