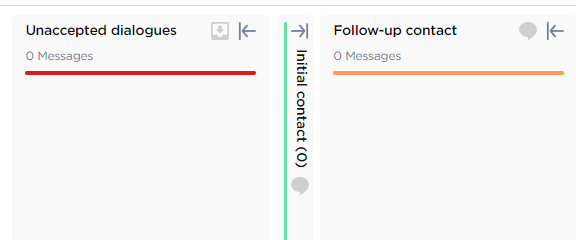
Sales pipeline
A sales pipeline is a visual representation of a “path” of an inquiry from initial contact to a successful resolution. The section includes built-in filters and bulk actions.
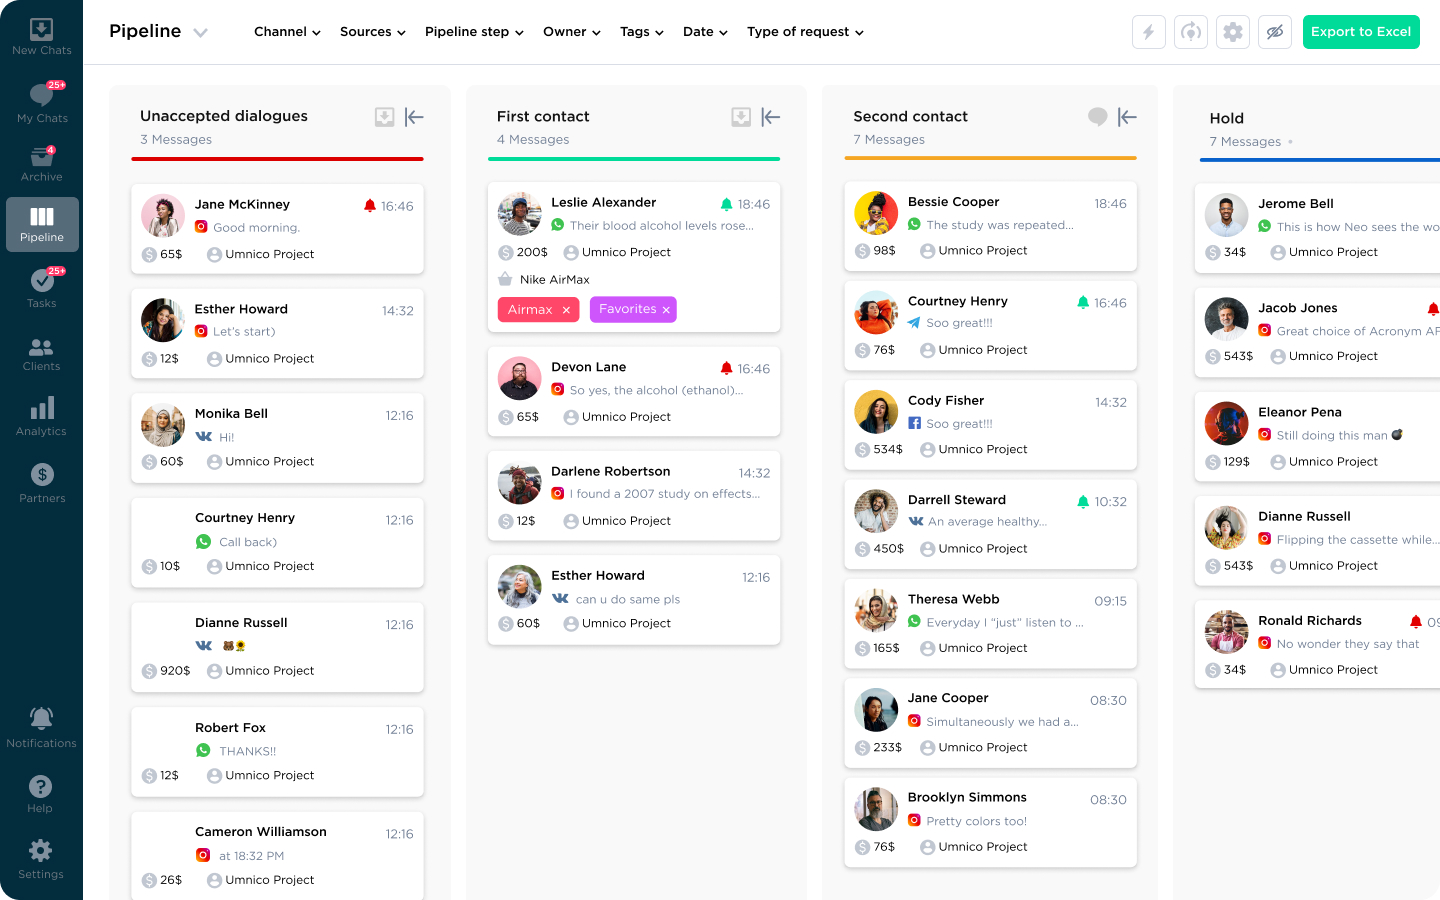
When you create an account, a sales pipeline with standard stages is automatically created. It can be completely modified later to suit the needs and specifics of your business.
When creating the pipeline’s stages, keep in mind what they are used for exactly. After an inquiry passes through the stages of the pipeline, statistics are recorded for each stage, which can be later viewed in the "Analytics" section. For example, you can find out the conversion rate of each stage and see how many customers move to the next stage and how many leave.
We recommend starting to work with only the essential stages, since in the future you can add new stages at any time.
Setting up Umnico sales pipeline
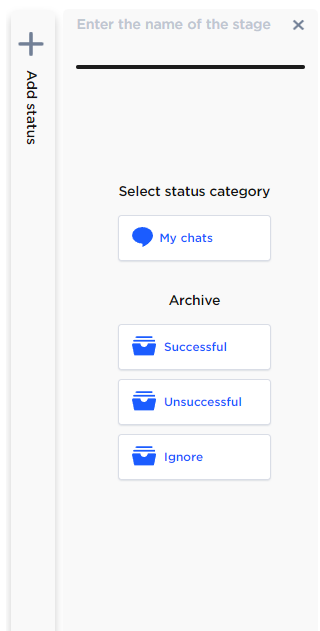
To start editing the pipeline, select the Gear icon in the upper right corner.

You will see the "Add status" tab in the left menu. Click on it and add the name of the new status and assign it to the active group "My chats" or the archived "Successful", "Unsuccessful", or "Ignore" groups. As soon as you select the group, the status will be added.
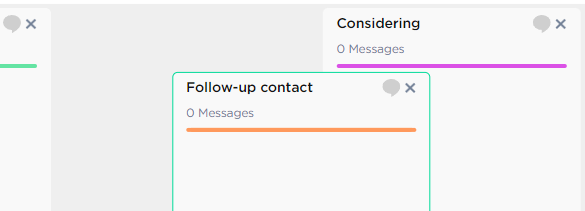
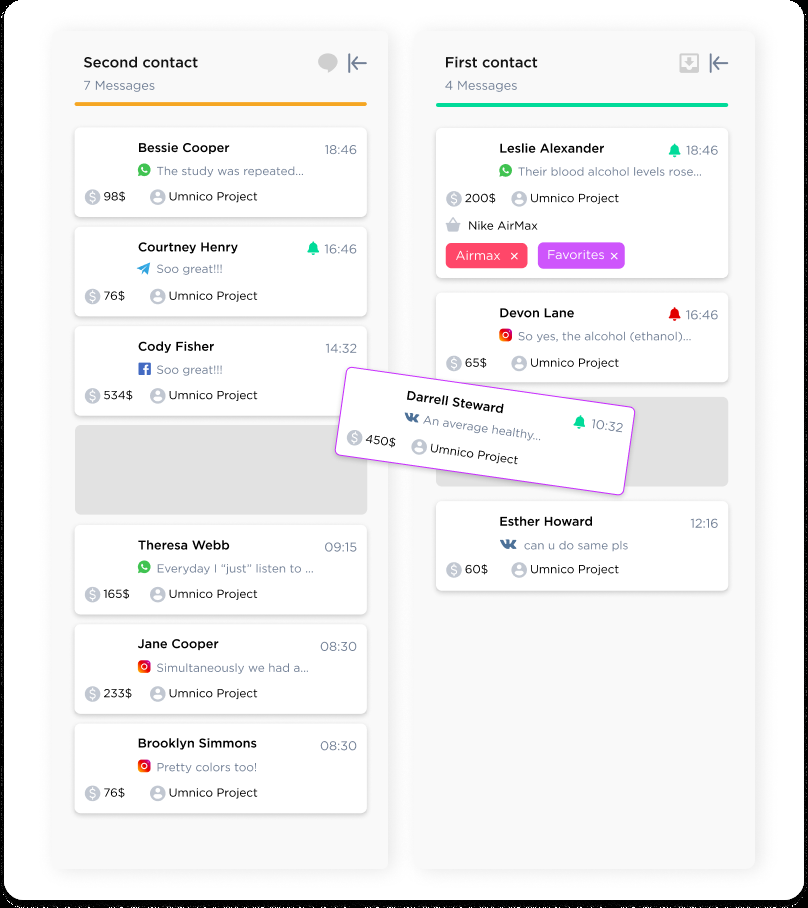
In the edit mode, you can reorder pipeline stages by dragging the stage in front of/behind other stages, thereby raising or lowering it in the sequence of pipeline statuses.
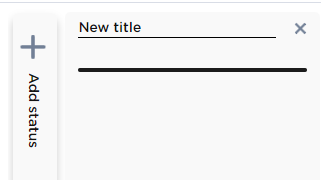
You can also edit the name of an already-created stage. To do this, click on the current name, specify the desired name, and then click on any free area. The name will change.
To display only the columns you need, use a column collapse button.
If necessary, you can move a conversation to another status directly in the pipeline by dragging it to the desired stage.
Should you have any issues setting up the pipeline, you can contact our support in the "Help — Chat with an operator" section. We’ll be glad to help.
Learn more about messenger marketing and how to effectively communicate with clients on messaging apps in our dedicated guide.
 3-days free trial period