How to create a chatbot with a visual builder
Chatbot is a program designed to automatically respond to user inquiries. You can create a chatbot using a visual chatbot builder by Umnico. This tool allows users without any programming skills to create chatbots for more effective customer communication. Chatbots make customer support easier, boost employee productivity, and ensure quicker and more accurate responses to customer inquiries.
In this tutorial, we will explain how to create a chatbot for your website using the intuitive Umnico builder. Creating a chatbot involves just a few simple steps: creating a template, editing response text blocks, and setting up the bot's logic.sd
Creating new chatbot project
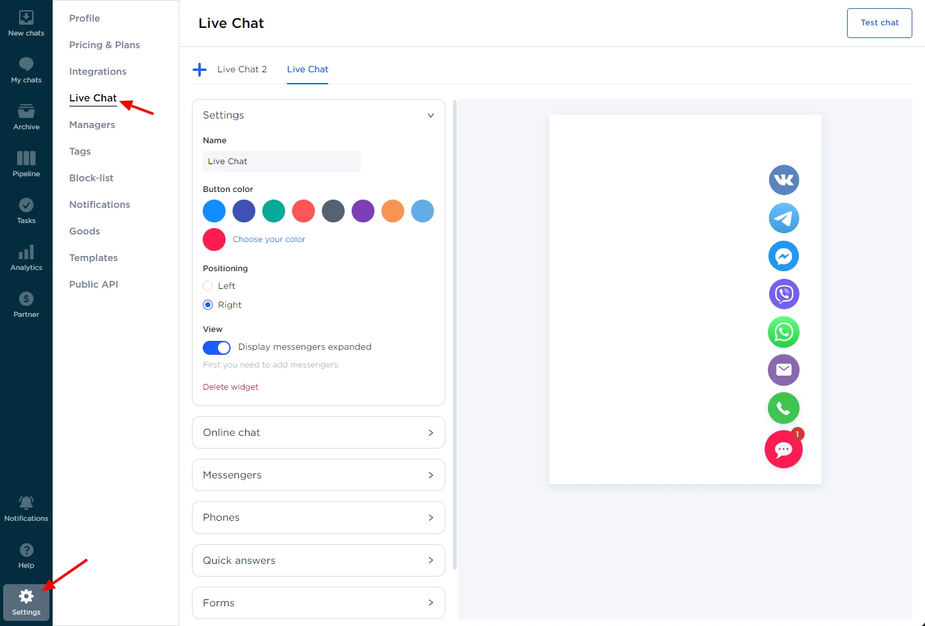
The process of creating a chatbot starts with setting up the chosen channel of communication for the bot, in this case, a live chat widget. To create the live chat, go to the ”Settings — Live Chat” tab. You can create an unlimited number of widgets by clicking the ”+” icon.
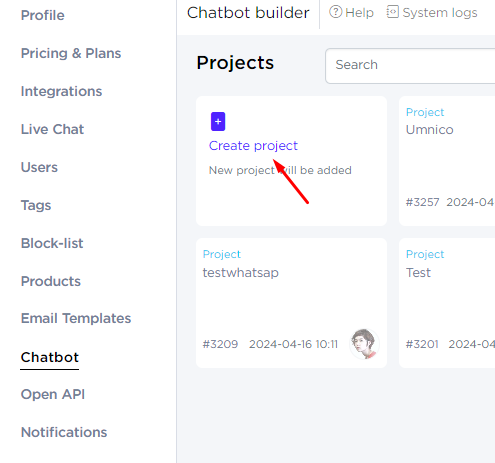
Go to the ”Chatbot builder” section in the left menu and click ”Create project”.
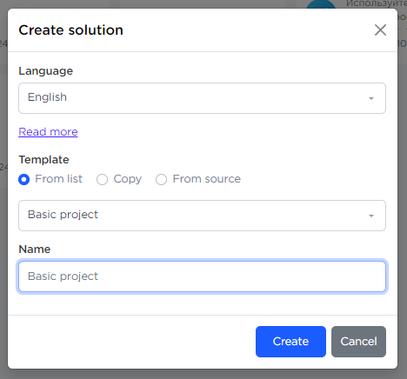
In the pop-up menu for creating a new template, select ”From List” and set the desired name for the bot. To copy an existing chatbot, select ”Copy”, and to work with the source code, select ”From Source”.
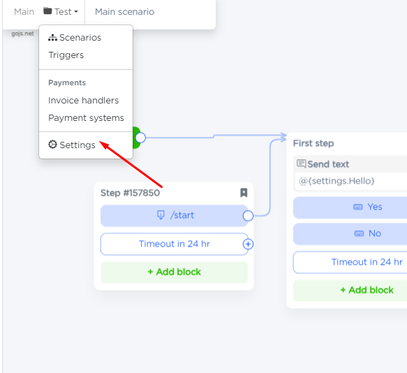
Setting up messaging channels
In the chatbot settings, select linked messengers for communication (Discord, Widget, Telegram, and others).
Toggle a slider to support all messengers.
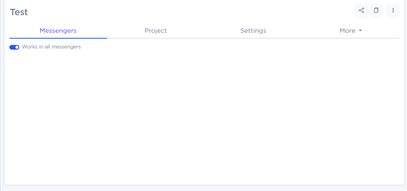
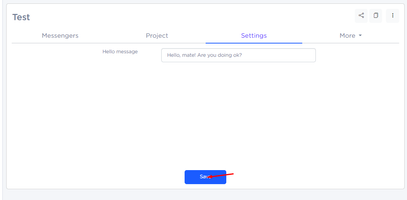
Update the configuration and select the autostart and welcome message parameters.
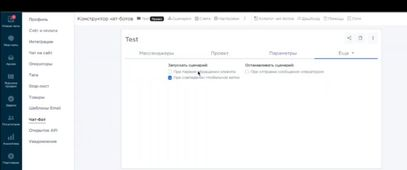
You can also configure the script launch parameters in the ”More” section.
When you have updated the configuration and created a welcome message template, click the ”Project” button in the top panel and go to the script project to start creating the chatbot's script.
Creating a chatbot script
Chatbot script is a scheme of the bot's operation, which contains various steps connected by arrows. Each step can perform various functions, and a project can contain several such scripts.
The workspace contains steps and connections between them. To create a new step connected to the previous one, click on the + sign, after which you can place the step anywhere in the workspace without releasing the mouse button. To add a step without a connection, use the right mouse button and select ”Add Step”. To name a step, double-click on it.
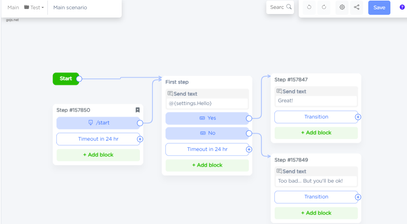
Actions in chatbot’s steps
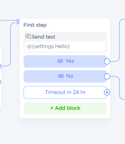
When the chatbot reaches a certain step, it performs predefined actions, such as sending a message or setting a tag. Actions are executed in order. To add a new action, click the ”Add block” button. You can also change the order of actions by dragging them with the mouse.
Conditional actions
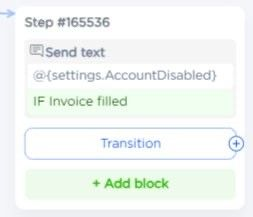
You can also add a condition for each action to be executed in your chatbot. If the condition is not met, the action is skipped.
Waiting for events
To check, for example, whether the user has sent ”yes” text or not, you need to add a block to check for a complete match of the text. To do this, add a ”Full Match” block in the step. In the example below, the condition for moving to the next step is defined by the user's response ”yes”.
Chatbot builder buttons
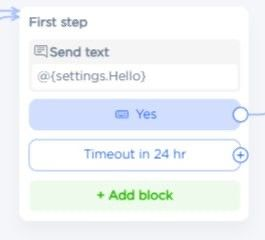
You can attach buttons to your messages, making your chatbot even more interactive. You can also set alternative keywords for the buttons to handle various user inputs. This is what a step with a button looks like:
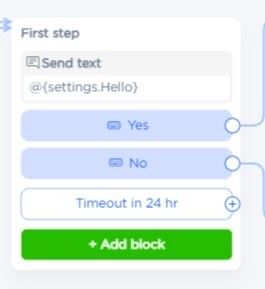
Buttons can only be added to a step with a message because they are sent along with the message. When a message has conditions, the buttons will not be sent if the conditions are not met.
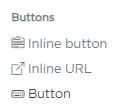
- Inline button is attached to the message, while a regular button is displayed below the input field.
- Inline link allows you to attach a link to your message. In the settings, you need to fill in the website address that the user will be directed to.
Chatbot conditions
When creating a chatbot, you can add conditions to direct the conversation with the client to different areas of the scenario based on specific values. To do this, open the block-adding menu and select 'Condition'.
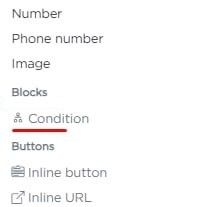
When the scenario reaches a step with a condition, the chatbot looks for the first true condition in the order they are listed. If found, the transition is made according to this condition. If none of the conditions are true, the 'Else' block is executed.
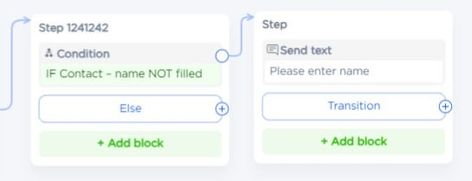
You can move conditions within a step or to other steps by holding down the left mouse button. As well as rename a condition by double-clicking on its title.
Once you have finished setting up your chatbot's script, click the 'Save' button to apply the changes.
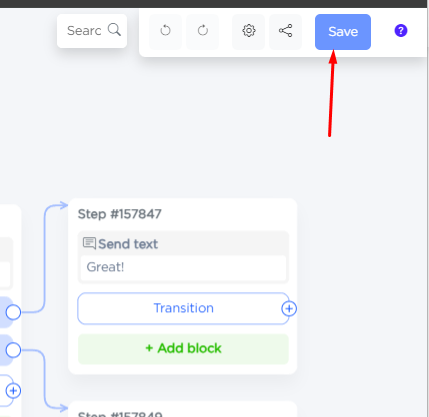
When you save the scenario, the chatbot will become active and operate according to your scenario in the selected messengers.
You can also watch a video tutorial on how to set up your chatbot.
If you have any questions, please contact us via the 'Help - Chat with an Operator' section of your personal account, and we will be happy to assist.

 3-days free trial period